Tuesday, December 7, 2010

iPad Sleeve

Given that I have no iPad, and have never even held one in my hands, I wanted to follow a tutorial to sew an iPad Sleeve with exact dimensions for this Christmas gift. Made by Heidi has detailed instructions, exactly what I was looking for!


To modify the design a bit, I added an outer pocket to one of the side pieces (surprise! I add a pocket to everything!). Stitching down 4 times got me 2 pockets and 2 pen pockets.


For some extra padding, and because I had leftover fleece but no batting, I made the lining out of a thick fleece. Both sides of the binder pieces are covered by it. It made the lining a bit more voluminous and I almost didn´t get it fully inside the shell. But after handstitching down the lining to the zipper, everything turned out fine.
Nice and sturdy, and with a super soft lining! I hope this one will be a hit under the tree :)

Christmas Gift Pouch

For this Christmas, I wanted to experiment with not just homemade gifts, but also homemade gift wrap ideas. My thought is that the gift wrap should be re-usable and not be ripped off the gift and thrown away on Christmas Day.
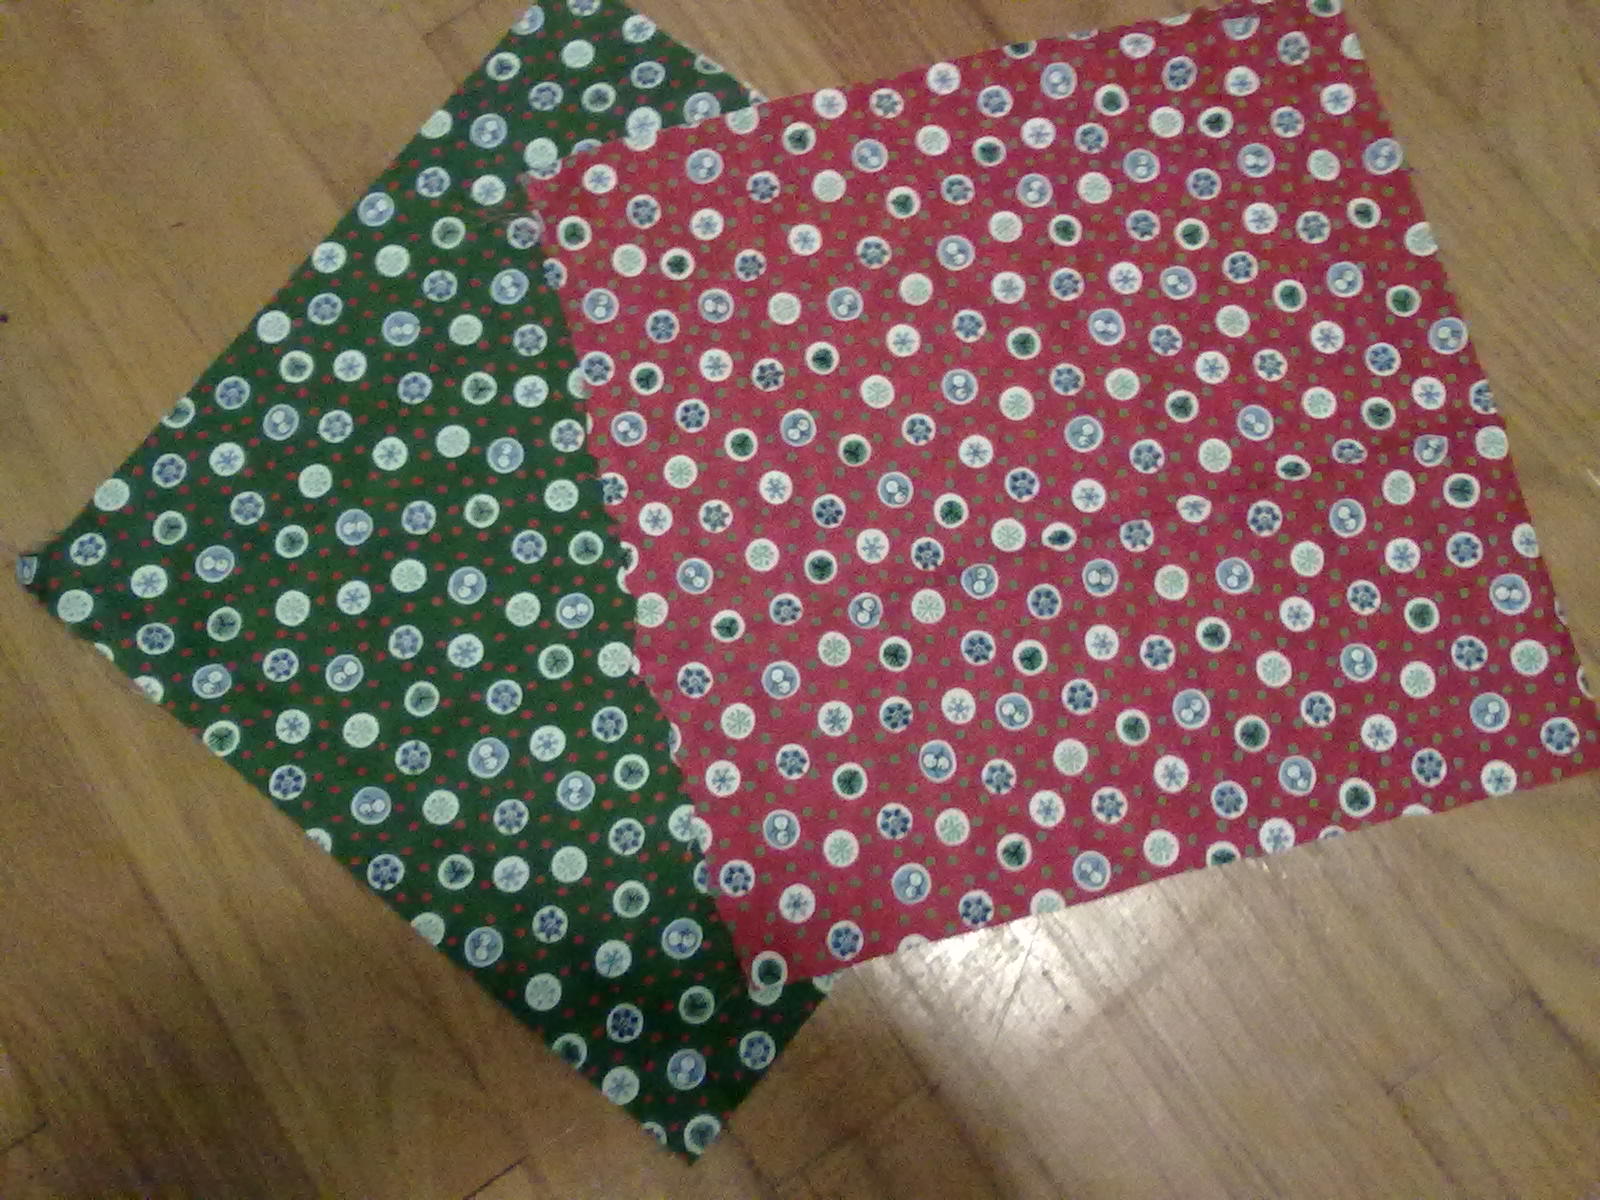
This little pouch is made of two 7"x7" squares of complementing fabric, and a 12"x1.5" fabric strip for the drawstring.

After sewing the two squares right sides together and turning, I topstitched around the perimeter to add stability and close the opening I used for turning.

Then I folded over all 4 edges and stitched a line parallel to the fold, about 1.5" from the edge, to create a casing for the drawstring.

I made the drawstring by folding both long sides over twice and stitching down the open side.
Feeding the drawstring through the casing creates the pouch. It´s small and perfect for a little stocking stuffer!

How completely adorable are these little Fabric Baskets from The Sometimes Crafter?

When I saw them, I knew I wanted to make something similar, but with a strap to hang from a towel rod as there is no horizontal space in our bathroom!


So I followed the tutorial but cut 2 extra strips for fabric, ca 3" wide and 6" long, and a strip of Velcro ca 2" long.
Also, because I love pockets, I had to add an extra scrap of fabric for  a pocket!
And so before joining the side seams on the inner basket, I sewed on the pocket piece, which is really just a piece of fabric with 3 sides turned under ¼” and the top turned under twice and topstitched.


For the strap, I joined both long sides and one short side of the fabric strips, right sides together, and turned the resulting tube right side out.

Before sewing the outer and lining baskets together, I found the back center and sandwiched the strap between both layers.
The final step was to sew the Velcro to the  both ends, on the “underside” of the strap.

And in just under an hour, the little basket was ready to be filled with a bunch of microfiber cloths and is now hanging from the towel rod.

Sunday, November 14, 2010

Gadget Pouch


 As I like to carry around not only my iPod but also its USB cord so I can charge it at work, I wanted a pouch that would be big enough for both. Depending on the dimensions, this idea would work quite as well as a cell phone cover or to carry around any small gadget.

Materials:
fabric scraps, 9.5" x 6" each for the shell and lining
fabric scrap for the loop, 2" x 5"
2 felt scraps, 4.5" x  5.5" each
1 piece of velcro, 4.5" long


Fold the outer fabric in half and sew around the side and bottom. With spray glue, attach the felt on both sides inside of the stitch lines.

On the lining fabric, measure 1/2" from the top and sew on the velcro. Leave about 1/4" on the sides as as seam allowance for the lining fabric. Stitch all around the velcro.


 Insert the lining pouch into the outer pouch. If you want a loop, sew the fabric scrap into a double folded tie and fold in half. Pin to the outer piece and catch in the seam as you join the outer and lining. Leave a 2" opening for turning. Turn and slipstitch the opening closed.
 And this is it - ready to add your gadget!

Saturday, October 23, 2010

The Paisley Package


For The Paisley Package, I made a Travel Laundry Bag, a Pleated Pouch and Pajama Pants. That was a great way to use up some of the leftover fabric from the Pajama Pants :)

Friday, October 15, 2010

Pajama Bottoms


I got the idea for these pajama bottoms from Amy Butler's book In Stitches, but there are plenty of free patterns on sites such as Burdastyle.
I feel that pajamas are the perfect gift for someone who likes to spend their weekends in lounge wear as well as for the person who has it all!
Regardless of which pattern you use, you will need about 2.5 -3 yards of fabric and matching or contrasting thread as well as some elastic or ribbon for the waist (optional), and you will end up with 4 pattern pieces: 2 pant fronts and 2 pant backs. For a drawstring, you'll also need a 60"x2" strip of fabric.
Join first the inseams, then the crotch seams, then the outer seams. If you are planning on using ribbon or a drawstring, make buttonholes about 3" down from the unfinished edge, about 1" apart. You can omit this if using elastic and leave a small opening in the waist seam to insert the elastic.
To finish the waist, fold the raw edge over twice and make sure the folded edge hits underneath the buttonholes. For making the drawstring crease the fabric strip lengthwise, then fold the edges towards the crease. Fold lengthwise to hide the unfinished edges and stitch a seam along the open side.
Finally, fold over the hem twice and stitch in place.

Monday, October 11, 2010

Planner Cover


To make my planner a bit more useful, I decided to add a cover  with plenty of pockets. This should allow me to not only have all my appointments and lists handy, but also related items like tickets to a show or coupons for shopping trips.


Materials:
2 fat quarters in matching or contrasting fabrics (not even half of each fat quarter gets used)
7” zipper
Matching thread

First I eyeballed how much fabric I would need for the shell by wrapping the fabric tightly around the closed notebook and deciding how much overlap I would need for the flaps that hold the cover in place.
With these measurements in mind I added my inner pockets: a zipper pocket on the left flap, and two card pockets on the right flap.
I sewed down the zip pockets only on 3 sides to create an additional pocket on the left flap.
To accommodate for the unusual closure of the notebook, I made openings for the leather strap on the back and the pencil holder in the front. These are basically just small rectangles cut out of the fabric, then neatened with a zigzag stitch. Measuring the height of the notebook,  I snipped the fabric right at the end of that seam and double hemmed the shell fabric between the flaps, then sewed the flaps to the shell, right sides together.

I plan on making at least one of these for Christmas, but with a regular notebook planner. So I won’t need the openings in the shell and will instead add some elastic to keep the notebook shut.